En
En 
Introduction
Step 1: choose the class
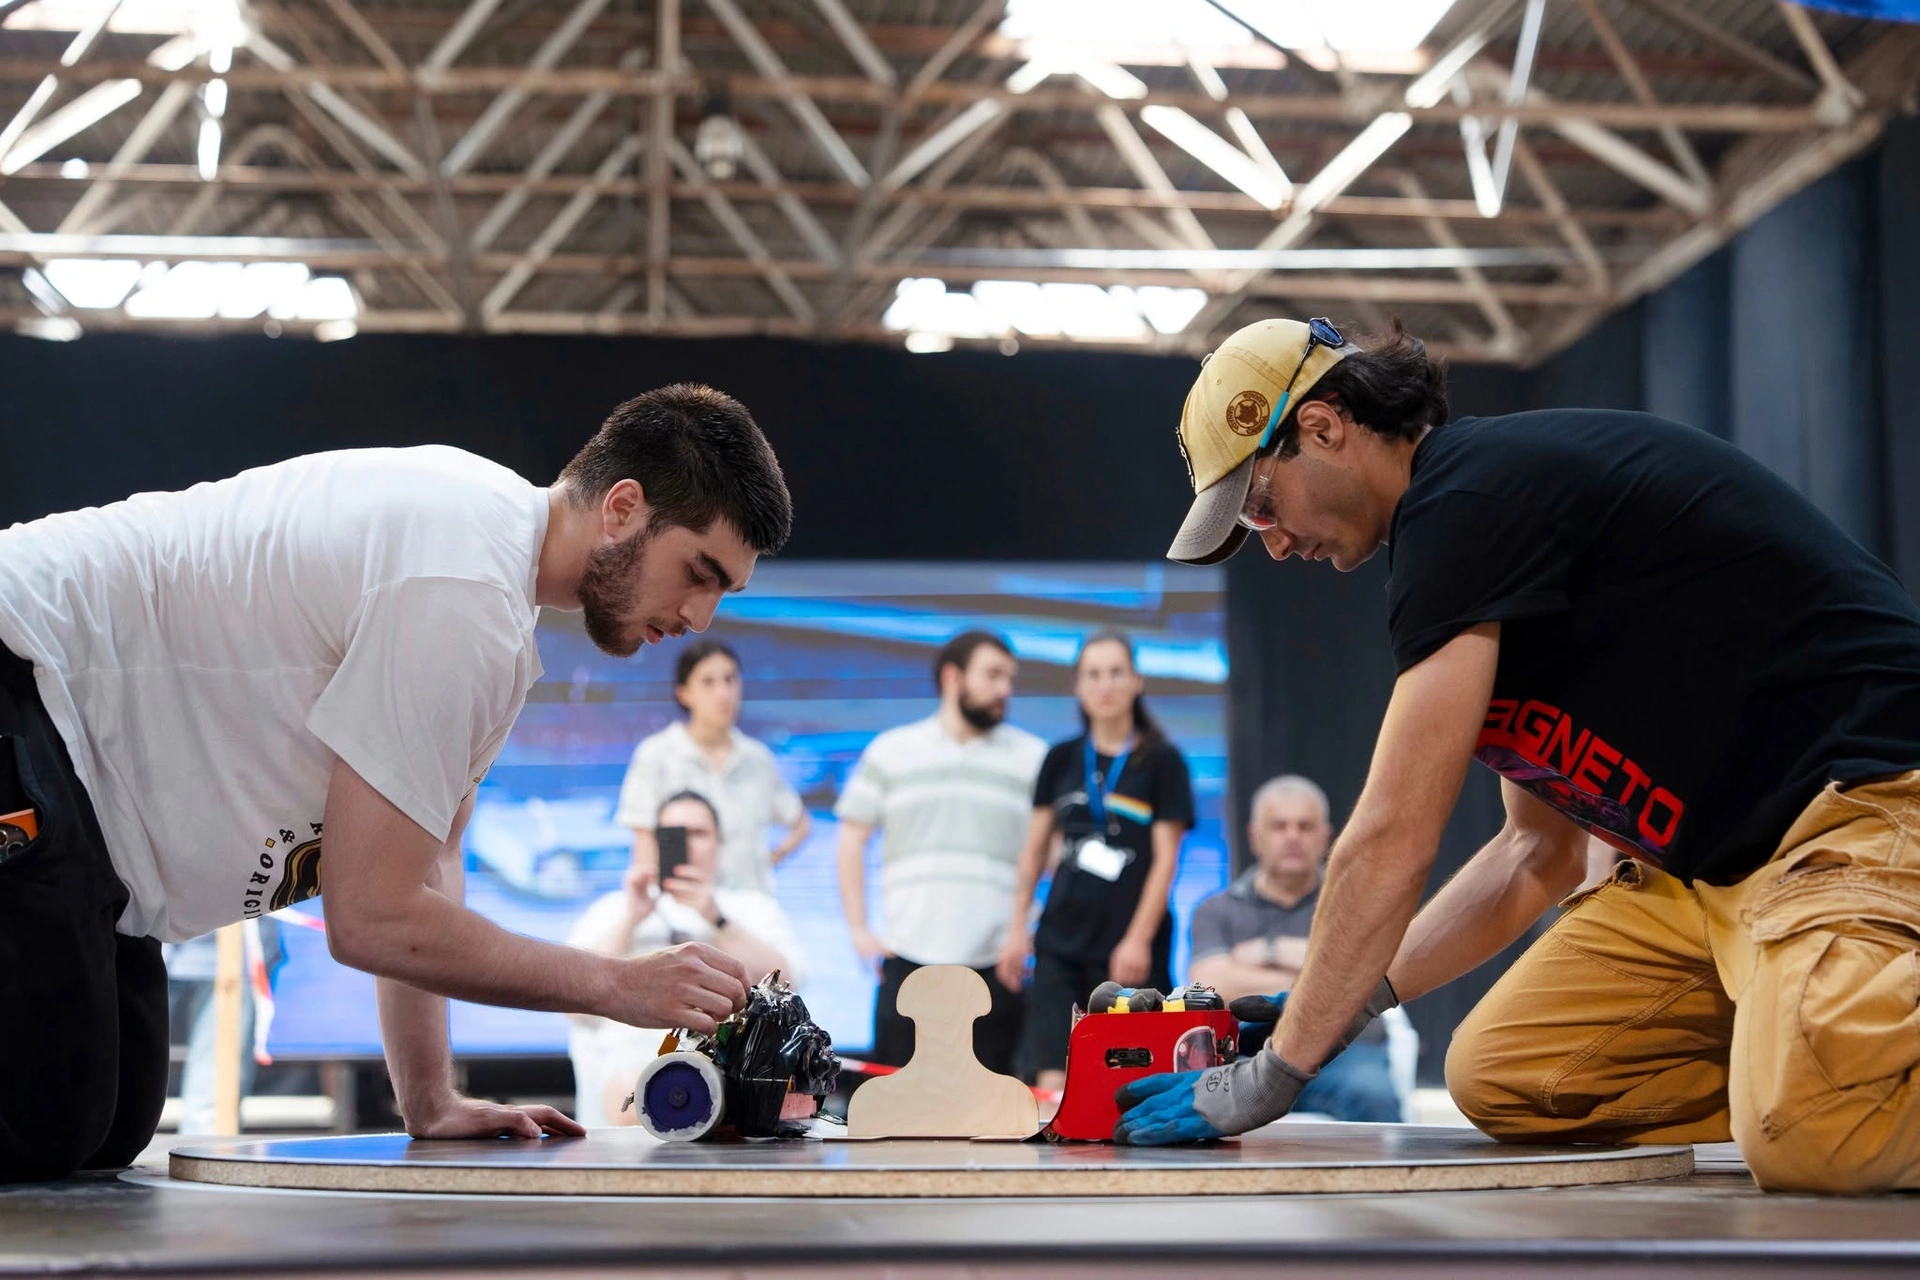
A SUMO robot is an autonomous robot that pushes its opponent out of a round ring. How tournaments run is in our beginner's guide to SUMO competitions; if you have never built a robot, start with My first robot. Here we build one, step by step.
GRA's 2026 rules (the Georgian Robotics Championship 2026) had two SUMO classes:
- Mini Sumo — up to 0.5 kg (0.505 kg on the scale) and 10 × 10 cm, any height. The ring: a black disc 77 cm across with a 2.5 cm white band. Magnets and vacuum pumps are not allowed.
- Mega Sumo — up to 3 kg (3.005 kg on the scale) and 20 × 20 cm. The ring: a black steel disc 154 cm across, raised up to 5 cm. Magnets and vacuum are allowed, and a kill switch is required.
In both classes the robot is fully autonomous, and the referee starts and stops it through an infrared start/stop module. It may unfold after the start but must stay in one piece. Forbidden: jamming the opponent's sensors, liquids, flames, thrown objects, sticky tyres (wheels must not lift and hold an A4 sheet for more than 2 seconds) and a white blade.
Choose Mini Sumo for a first robot: smaller, safer and cheaper, and its ring fits in a classroom. Rules change — each championship publishes its current rules on its page: see competitions.
Step 2: chassis, weight and size
- A low centre of gravity: battery and motors as low as possible, so the robot is hard to lift or flip.
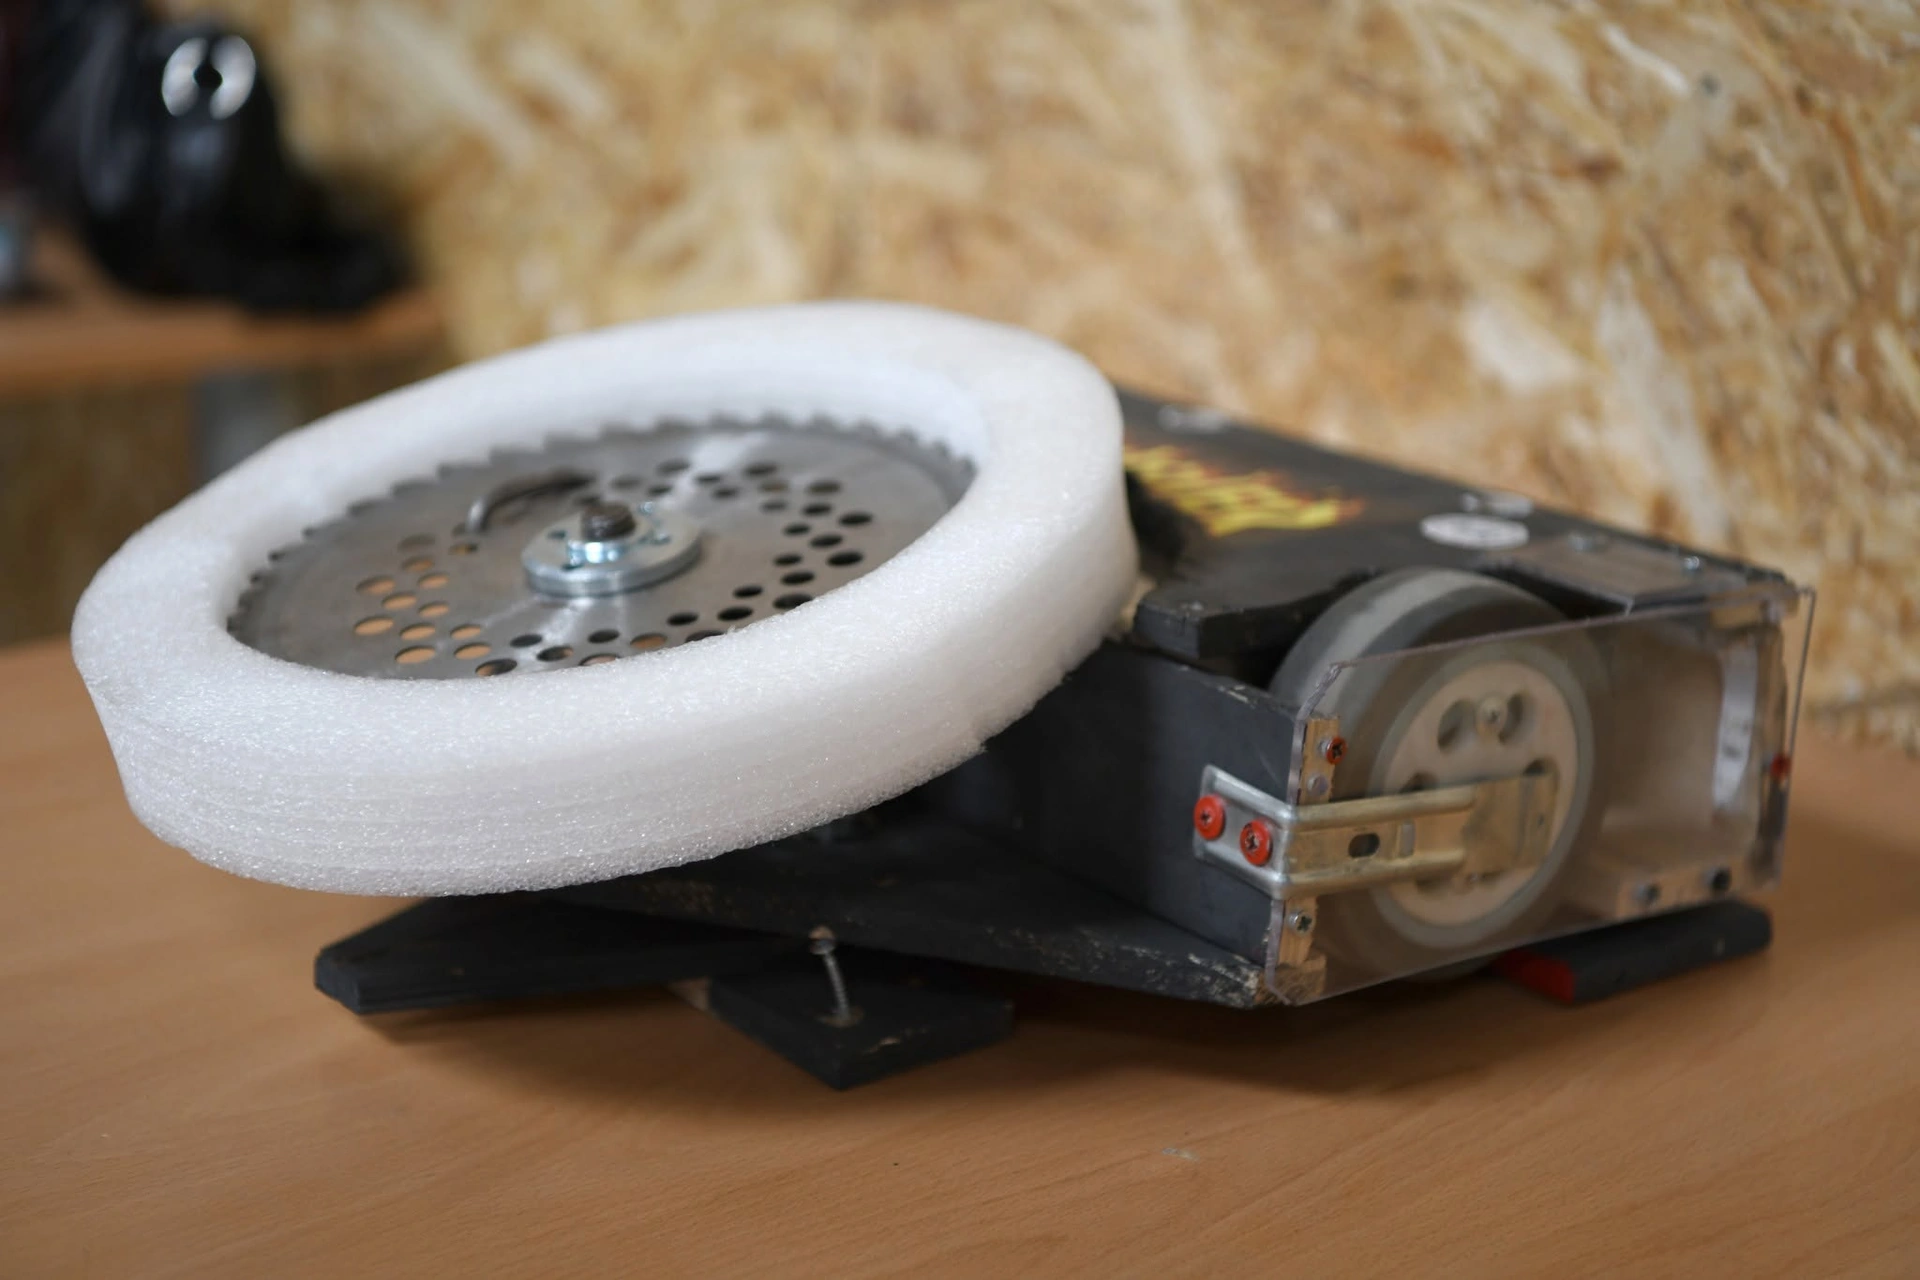
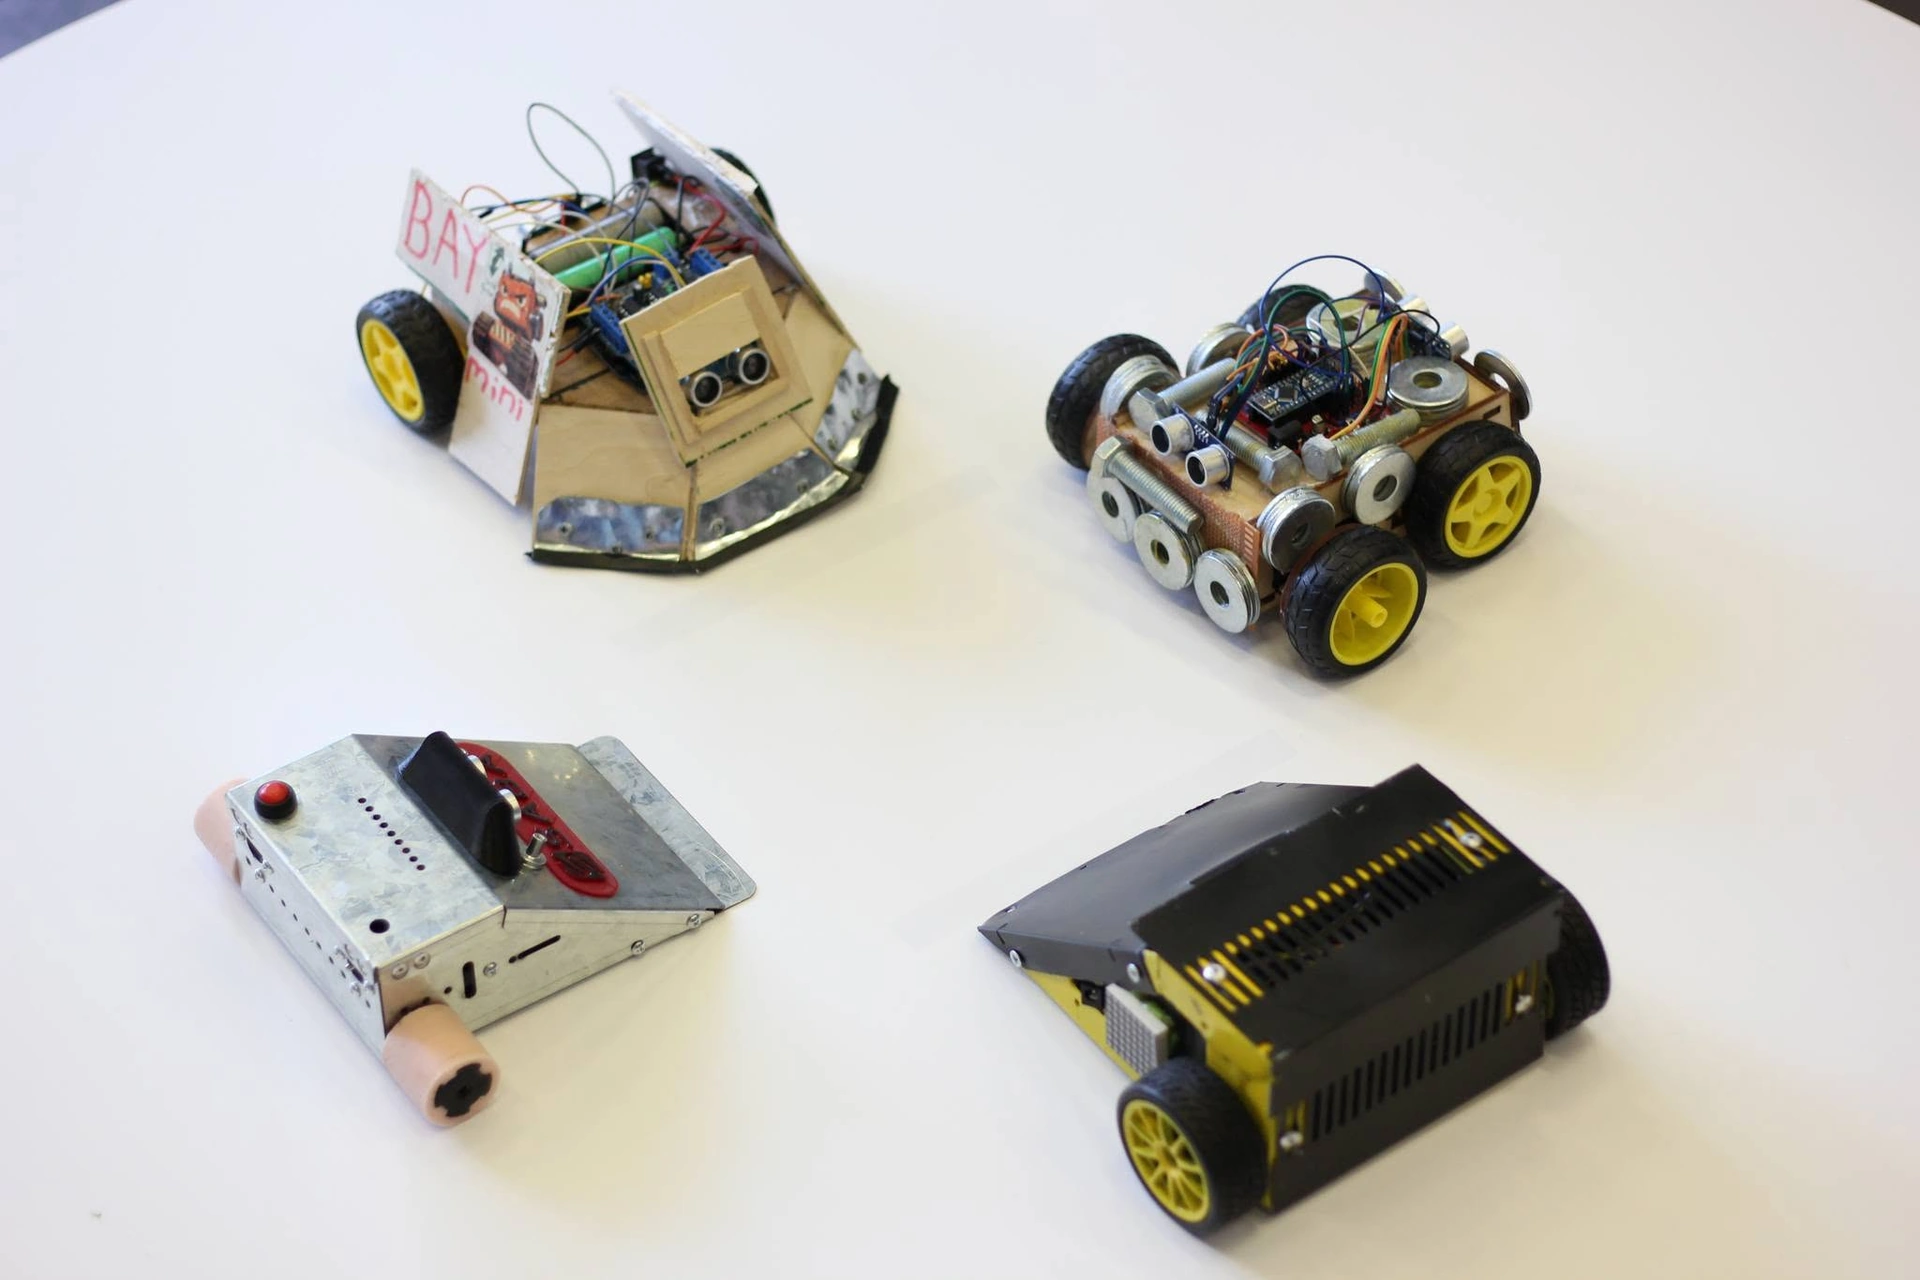
- A wedge (blade) in front: a thin, hard, straight edge slides under the opponent and lifts its wheels — a lifted robot loses its grip. Steel for the edge; aluminium, 3D-printed PLA/PETG or plywood for a first body.
- Use the whole weight: push comes from grip, and grip from weight — weigh often as you build and get close to the limit.
- Build slightly under size: aim for 98–99 mm, not 100. At check-in a bottomless frame goes over the robot (10.3 × 10.3 cm for Mini, 20.3 × 20.3 cm for Mega) — make one at home.
- Easy access to the battery, switch and USB port: a repair during a match gets 1 minute (the organisers may extend it to 5).
Step 3: robot motors, wheels and traction
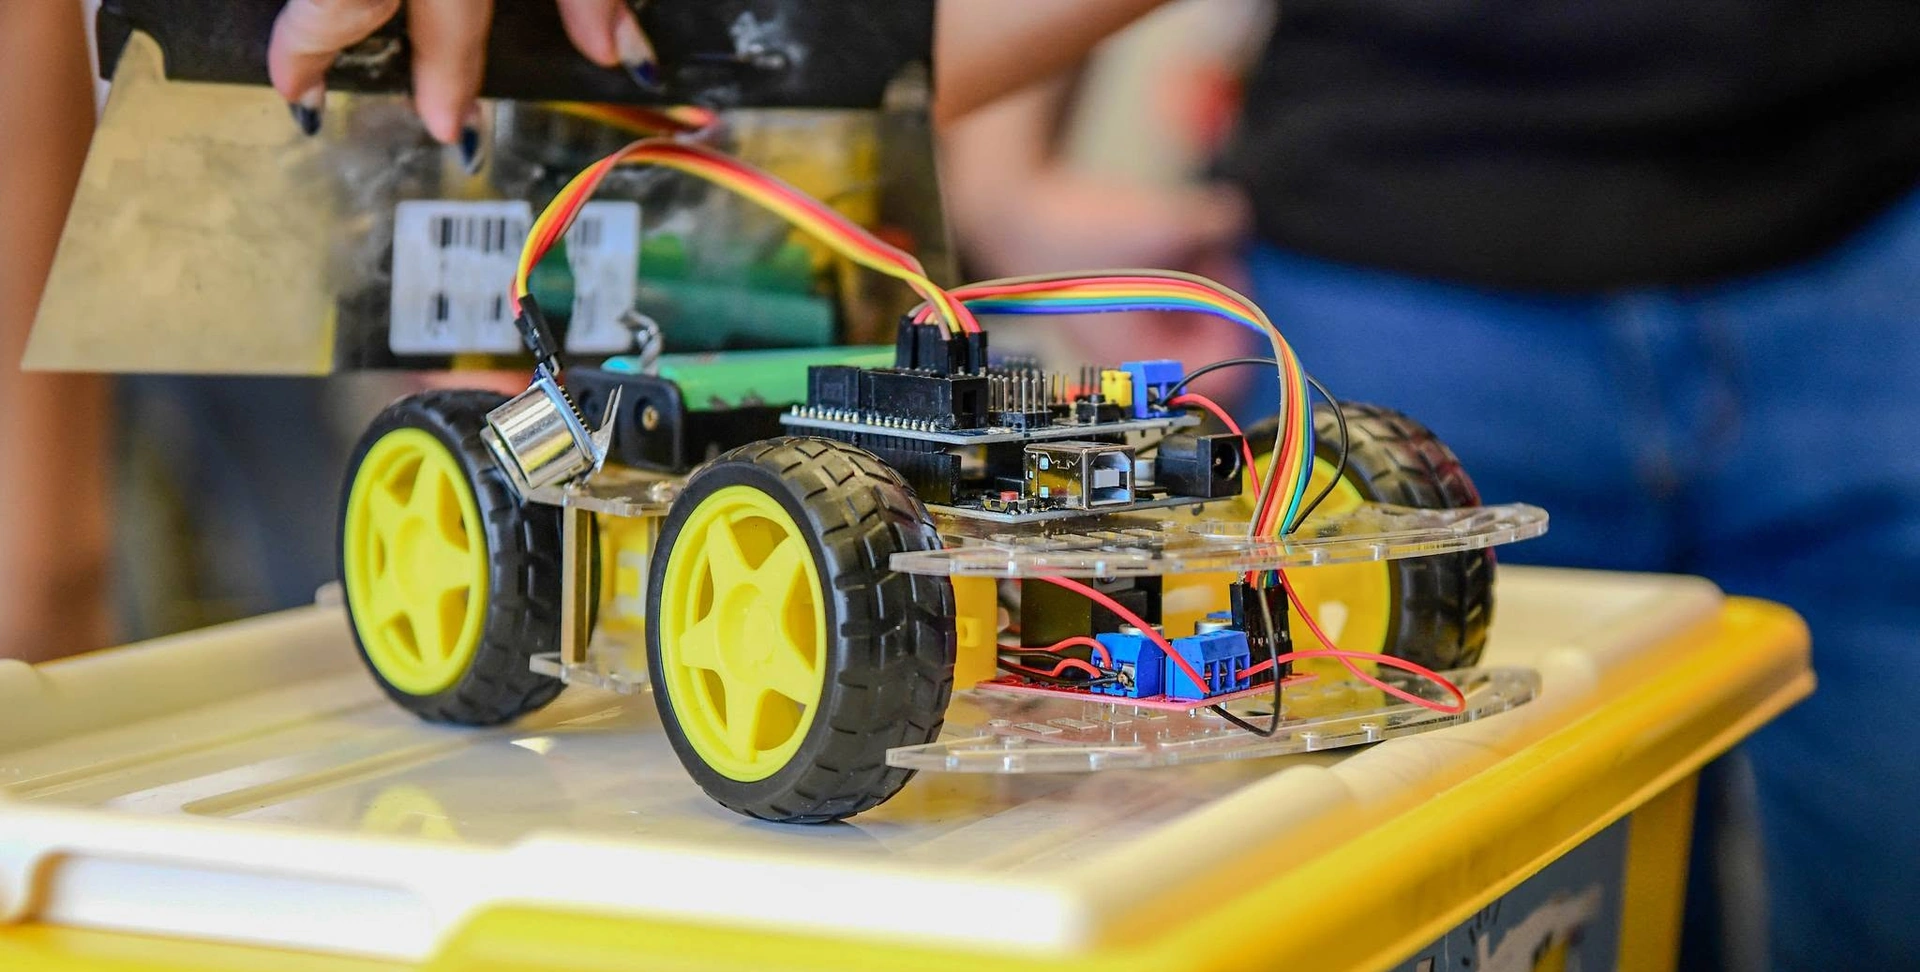
SUMO robot motors are DC gear motors: small N20-type metal gear motors in Mini Sumo, bigger 25–37 mm ones in Mega Sumo. A low gear ratio is fast but weak, a high one strong but slow; for a first Mini Sumo pick a medium ratio.
The real limit is traction: a robot can push with at most about its weight times its tyres' friction. A 0.5 kg robot on good tyres (friction close to 1) pushes with about 5 newtons; more torque only spins the wheels. So use soft, wide silicone or polyurethane tyres and keep them clean.
The motor driver must survive the stall current — what a motor draws when it pushes but cannot turn, SUMO's normal state. A dual H-bridge suits Mini motors; Mega needs a higher-current driver or a brushed ESC.
Mini Sumo robots often use a 2S (7.4 V) LiPo pack: high current, low weight. Charge it with a balance charger on a non-flammable surface, never unattended; don't drain a cell below about 3.3 V; mount the pack where nothing can puncture it; retire a swollen pack. The 2026 rules also required a charged battery at check-in.
Step 4: sensors for the opponent and the ring's edge
The first diagram shows a typical layout:
- the blade;
- opponent sensors — left, centre and right, so the robot knows which way to turn;
- side sensors for attacks from the side;
- edge sensors — IR reflectance sensors at the front corners and one at the back, looking down;
- motors and wheels;
- the battery, low and central;
- the controller;
- the start/stop module's IR receiver.
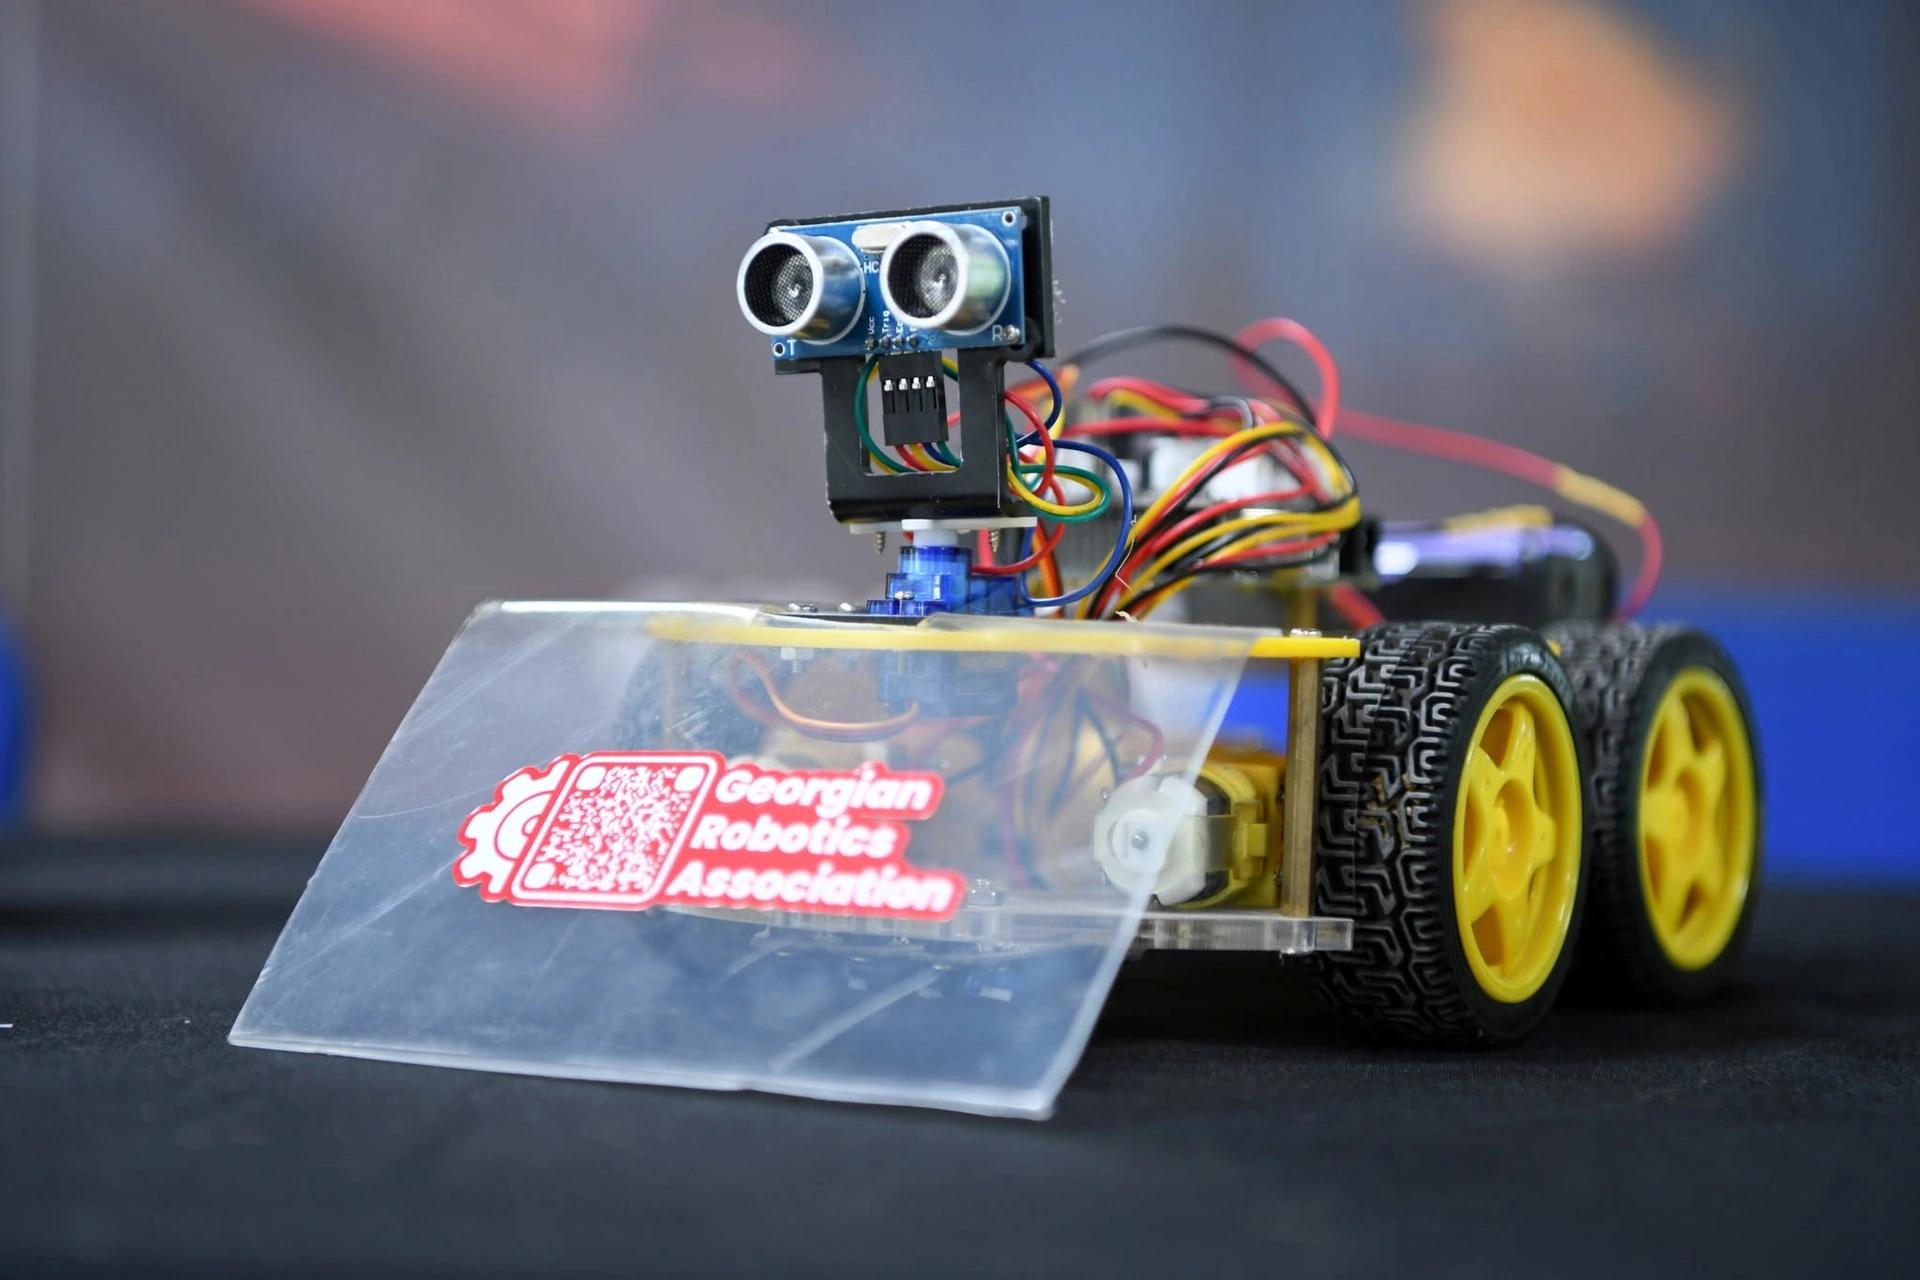
Opponent sensors: infrared distance sensors are fast and narrow — the usual choice; time-of-flight (ToF) laser sensors are precise; ultrasonic ones (HC-SR04 type) are slow and wide but fine for a first robot. Mount them low enough to see a flat opponent. GRA's 2026 rules advise switching 38 kHz infrared sensors on only after the start signal, so they don't disturb the start module.
Edge sensors (right part of the diagram): the sensor shines infrared light down; the black ring reflects little of it, the white band a lot. When the reading crosses your threshold, the robot is at the edge. Put the sensors ahead of the wheels, read them in every loop and calibrate on the real surface.
Step 5: the start/stop module and the kill switch
At GRA's championships the referee starts and stops both robots with an infrared remote. Under Appendix 1 of the 2026 rules:
- the start module is required in both classes; a kill switch, which cuts the motors' power the moment the referee sends Stop, only in the 3 kg class;
- use a ready-made module (open source, 5 V or 3.3 V, one input pin, 10.5 × 12.5 × 4 mm) or build your own around a 38 kHz IR receiver;
- on the signal the robot starts immediately.
In the second diagram:
- the referee's IR remote;
- the 38 kHz IR receiver (or the ready-made module);
- the microcontroller decodes RC-5: address 0x07 carries start/stop, 0x0B sets which ring (dohyo) the robot listens to; the last bit is 1 for start, 0 for stop (stop 0x12 → start 0x13);
- the status LED: steady — started, blinking — stopped;
- the kill-switch output: resistor R2 and NPN transistor T1;
- relay K1, its contact in the motors' power line; diode D1 protects T1 from the coil's voltage spike;
- the battery;
- the motor driver and motors, cut off when the kill signal goes low.
The state is kept in non-volatile memory (EEPROM/Flash), so after a reset the robot returns to its last state: every match must end with the referee's Stop. The appendix also has Arduino code for a home-made module and a test remote.
Step 6: the fight strategy in code
Write the program as a state machine:
- WAIT — motors off until the start signal.
- SEARCH — no opponent in sight: spin or drive in an arc.
- ATTACK — the centre sensor sees it: full power ahead; a side sensor: turn toward it while driving.
- EDGE — an edge sensor sees white: reverse, turn away, back to SEARCH.
- STOP — the stop signal: motors off at once.
Check the stop signal first, then the edge, then the opponent, and only then search: a robot that chases across the white band pushes itself out.
The third diagram draws both rings to scale, Ø 77 cm (0.5 kg) and Ø 154 cm (3 kg):
- the black surface;
- the white band (2.5 cm in Mini Sumo);
- the start cross splitting the ring into quadrants;
- the robots start in opposite quadrants — the referees say where;
- the edge escape: see the band → reverse → turn.
A robot that stops moving for 10 seconds loses the initiative and gives the opponent a point ("Yuhkoh") — never wait long. A match has up to three rounds, each at most 3 minutes; two points win it (the final is best of five).
Step 7: testing on a ring
Most SUMO matches are lost at the edge, not to the opponent. Test in this order:
- A practice ring: for Mini Sumo, a 77 cm MDF or plywood disc painted matt black with a 2.5 cm white band — glossy black reflects infrared like white.
- Edge test: drive at the edge from every angle at full speed, 50 times — it must never fall off.
- Opponent test: a box of the same weight first, then a real robot.
- Battery test: repeat it all with a half-empty battery.
- Light test: bright lamps and windows — sunlight contains infrared.
- Check-in test: the weight, the frame, the A4 sheet on the tyres, and the start module with your test remote.
Take spares: a battery, tyres, screws, wires, a soldering iron and the laptop.
What next
- New to robotics? My first robot covers the parts, electronics and programming from zero.
- The next championship, its rules and registration — competitions; meetups and workshops — events; helping at a tournament — get involved.
All our SUMO posts are under the SUMO tag.