En
En 
Introduction
What robotics is and where to start
Your first robot does not need to be big or expensive. It needs to work — and to teach you something every time it doesn't. This guide is the starting point for anyone in Georgia who wants to learn robotics from zero: pupils, students, parents and teachers.
Robotics joins three fields: mechanics (body, wheels, motors), electronics (sensors, boards, wires, batteries) and programming (the instructions that decide what the robot does). Every robot, from a school line follower to a factory arm, repeats one loop:
- sense — sensors measure the world: a line on the floor, a wall, an opponent;
- think — a controller reads the sensors and decides;
- act — motors move the robot, the world changes, and the loop starts again.
That is why robotics is one of the best ways into technology: your code acts in the real world, and you see your mistakes at once. Building a robot teaches a technological way of thinking — splitting a problem into parts, testing, improving.
The Georgian Robotics Association (GRA) has run school robot competitions since December 2022 — see our championships year by year.
The parts of a robot: sensors, controller, motors and power
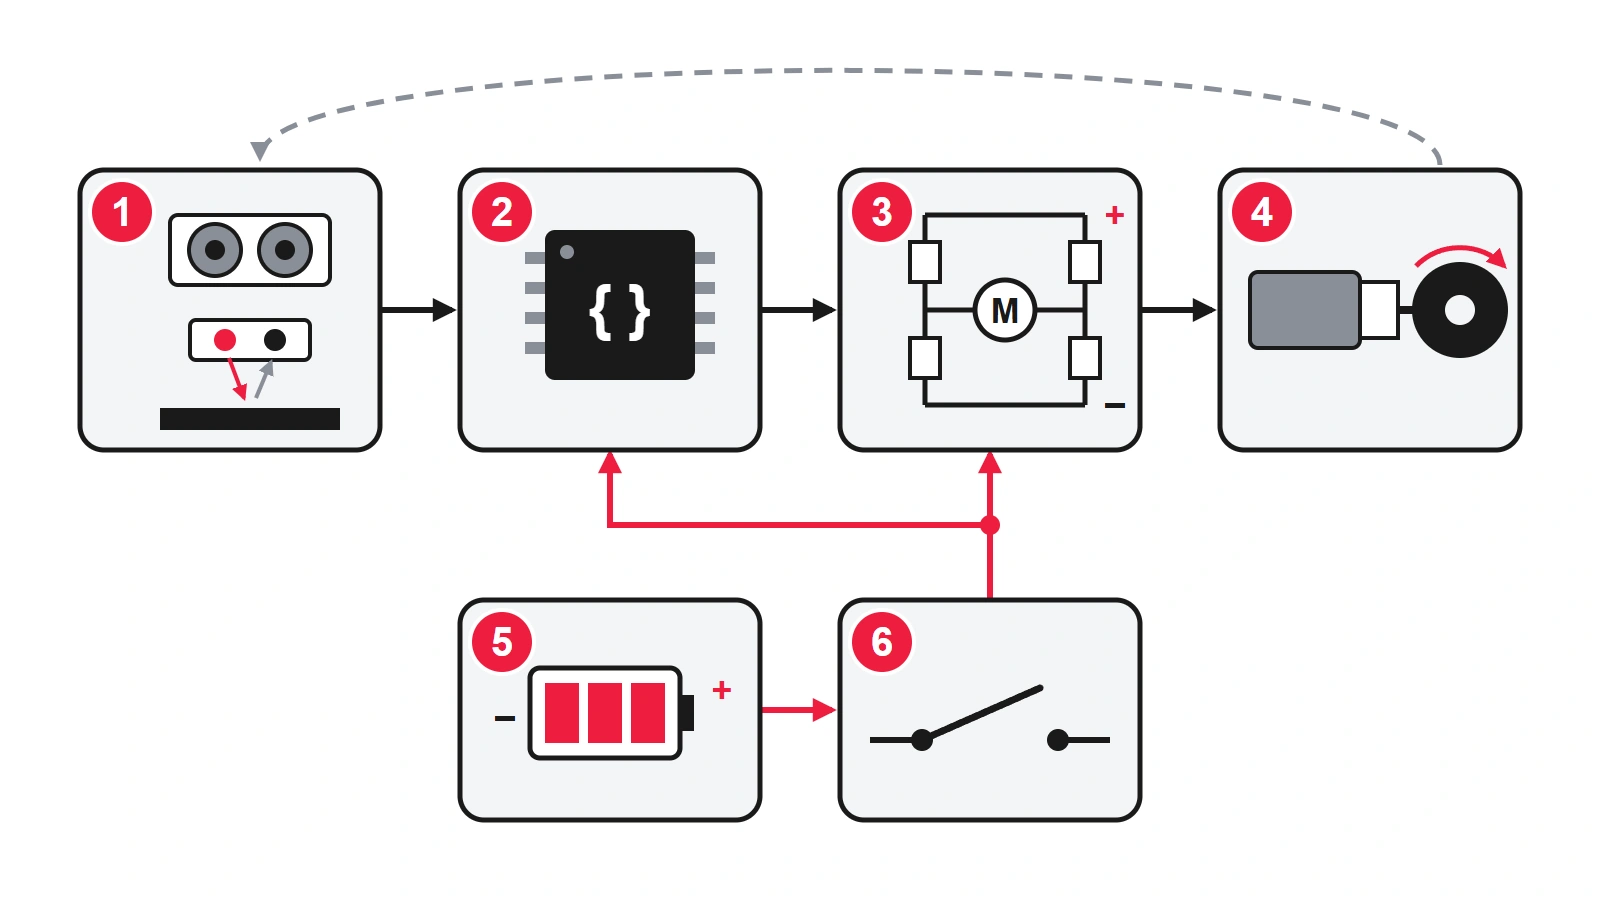
The first diagram shows a simple mobile robot:
- Sensors — the robot's senses. An ultrasonic distance sensor times an echo to measure how far a wall is; an IR reflectance sensor (TCRT5000 / QTR style) shines infrared light at the floor and tells a black line from a white surface. Buttons, gyroscopes and cameras are sensors too.
- Controller — a small computer: usually a microcontroller board (Arduino-class or ESP32-class), or a single-board computer when you need a camera. It runs your program in a loop, many times a second.
- Motor driver — a microcontroller pin gives only a few milliamps; a motor needs far more. The driver (an H-bridge) switches the battery's current to the motor, forward or back, and sets the speed with PWM — fast on/off pulses.
- Motors — usually small DC gear motors: the gearbox trades speed for force (torque). Servos turn to an angle, steppers move in exact steps.
- Battery — AA/NiMH cells, Li-ion cells or a LiPo pack.
- Switch — one switch that cuts all power and is easy to reach.
Black arrows are signals, red lines are power. The dashed arrow closes the loop: the robot moves, and its sensors see a new world.
A first project: a two-wheel robot, step by step
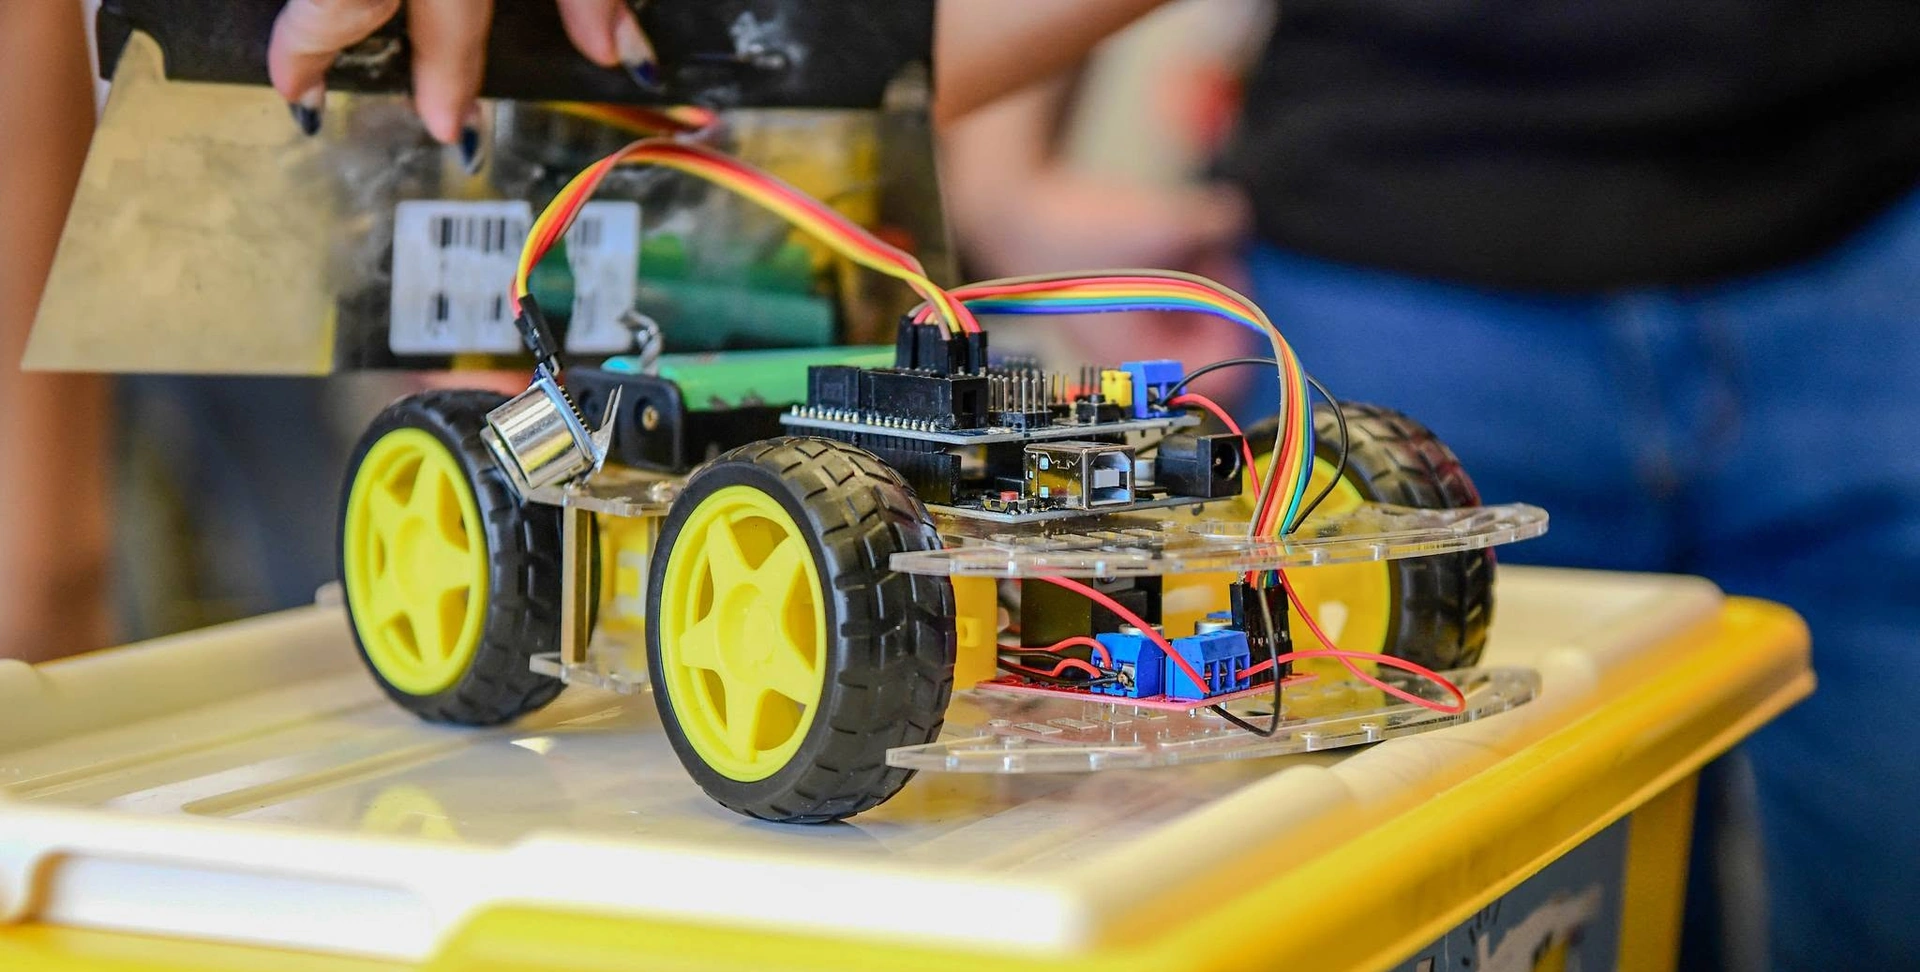
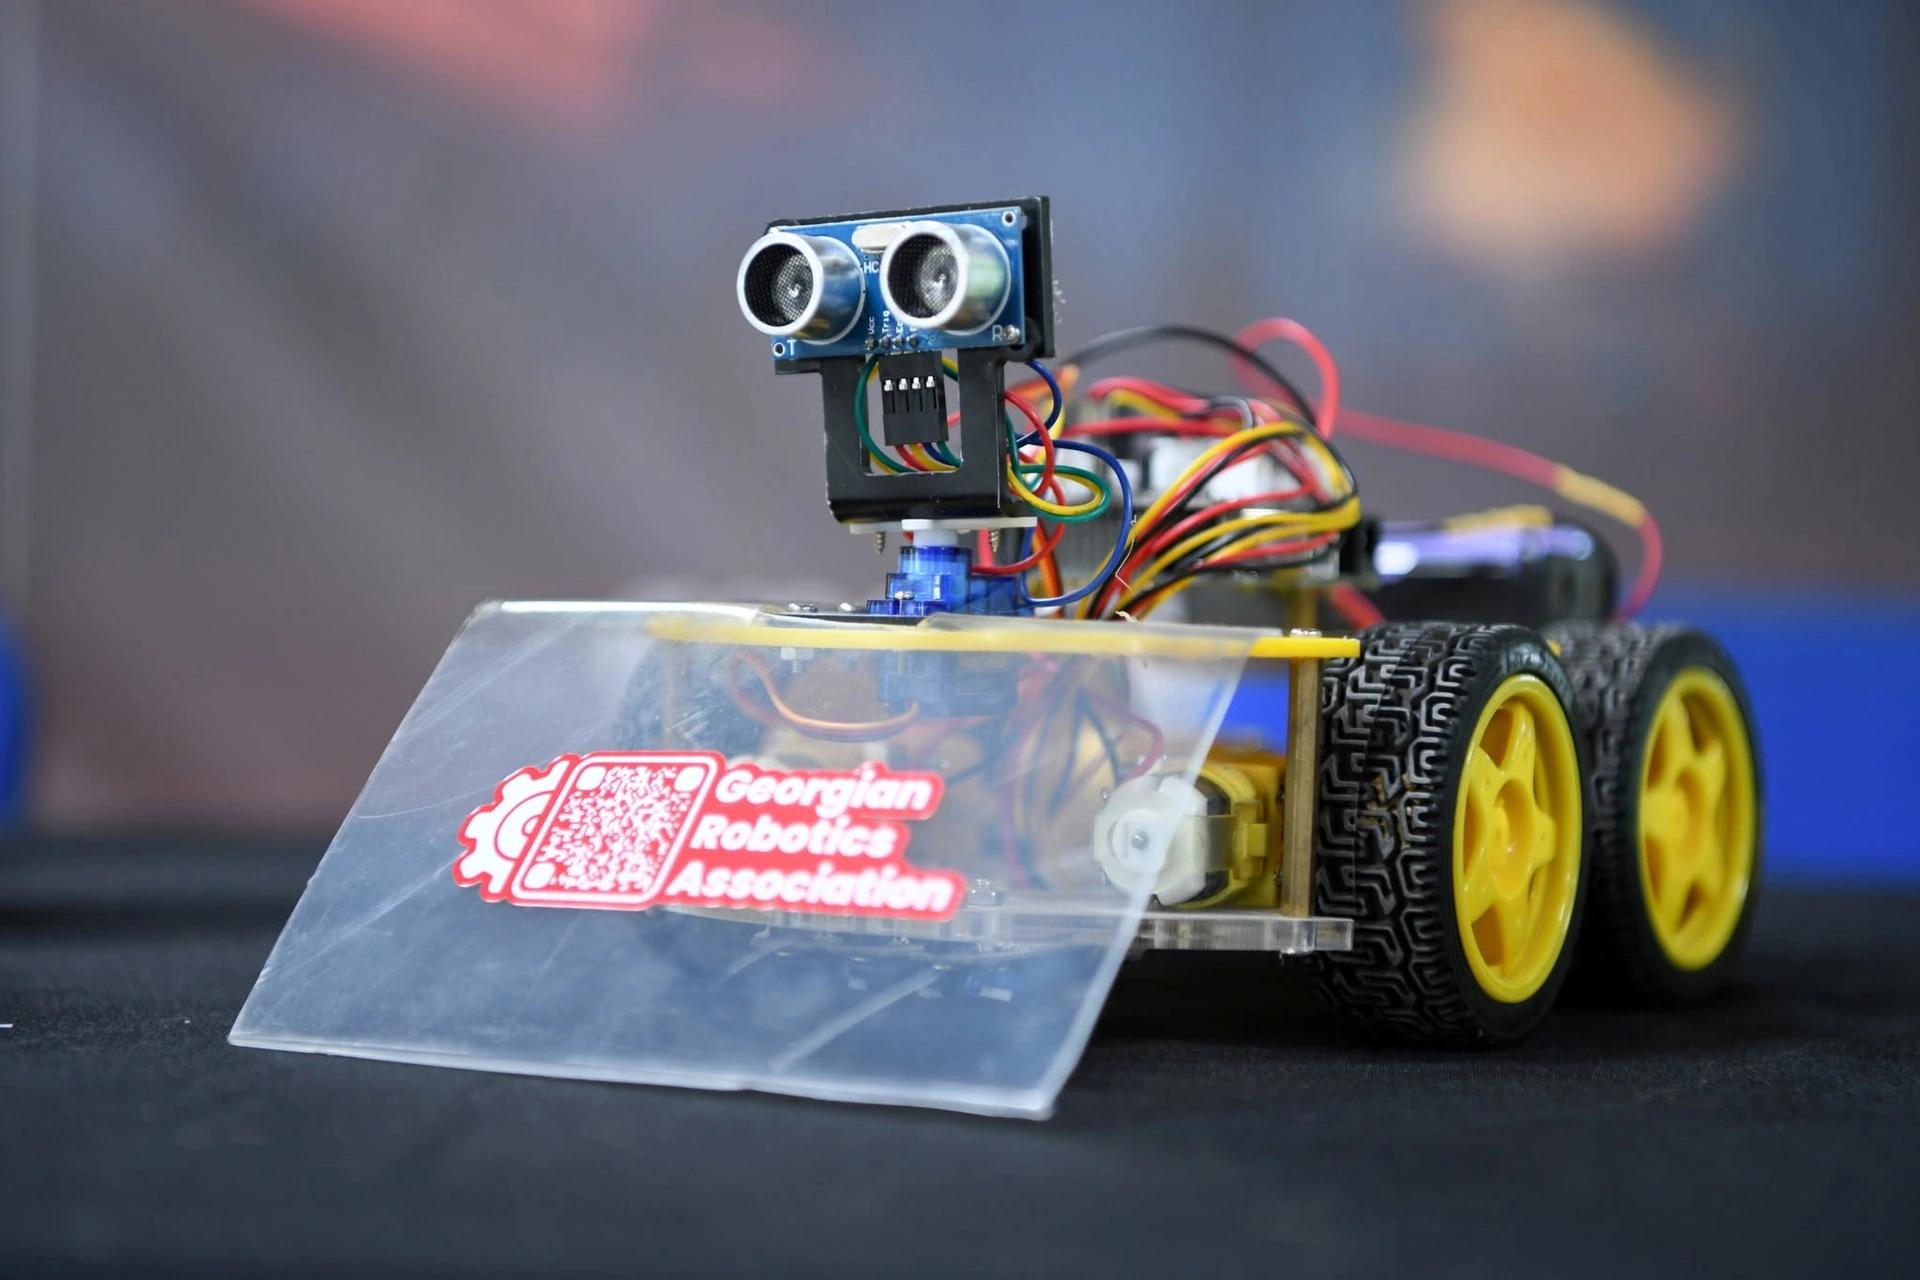
The classic first robot has two driven wheels and a free-rolling ball (a caster) at the back. It steers like a tank: this is called differential drive. In the second diagram:
- the ultrasonic sensor at the front;
- two IR line sensors underneath, one on each side of the line;
- the controller board;
- the motor driver;
- two gear motors with wheels (N20 or the yellow "TT" type);
- the caster;
- the battery, mounted low;
- the power switch;
- the red arrows: if the left wheel turns faster than the right, the robot turns right — that is all steering is.
Build it in steps and test each one:
- Mount the motors, wheels and caster on a flat chassis (a kit plate, plywood or a 3D-printed plate).
- Upload the Blink example to the board — now you know your tools work.
- Connect the motor driver and spin each wheel forward and back on its own.
- Add the switch and the battery; check the polarity twice before switching on.
- Make the robot drive a square — you will learn how different two "identical" motors are.
- Add the distance sensor: the robot should stop or turn before a wall.
- Add the line sensors: the robot should follow black electrical tape on a light floor.
A good target is GRA's school competition: in its 2026 rules the robot weighs at most 1 kg, fits in a 180 × 280 mm box and starts moving within 5 seconds of pressing its start button.
Battery safety: charge Li-ion and LiPo cells only with the right charger (a balance charger for LiPo) and never leave them charging unattended; never short-circuit or fully drain them; retire a swollen or damaged battery.
What to learn: electronics, programming, mechanics and soldering
Don't try to learn everything first — learn what your robot needs next. A sensible order:
- Electronics basics — voltage, current and resistance (Ohm's law), why an LED needs a resistor, how a breadboard is connected inside, digital and analog signals, PWM. Get a cheap multimeter and use it every day: most "dead" robots have a loose wire or a flat battery.
- Programming — block coding (Scratch-style editors) is a fine start for younger pupils; then Arduino C++: variables, conditions, loops, functions, reading sensors, timing without delay(). Later a state machine (search → follow → stop) will organise any robot program.
- Mechanics — torque and speed, gear ratios, the centre of gravity, wheel grip, lock nuts against vibration, parts that are easy to replace.
- Soldering — twisted wires fail sooner or later. Learn to tin a wire, heat the joint rather than the solder, and cover it with heat-shrink.
Soldering safety: the tip is around 350 °C — always put the iron back in its stand; work in a ventilated room (flux smoke irritates the airways); wear safety glasses when you cut component leads; wash your hands afterwards.
An electronics course or a robotics club speeds all this up a lot, but free tutorials and steady practice work too.
What a good robotics course covers
Many schools, clubs and centres in Georgia offer a robotics course. When you choose one, for yourself or your child, check for:
- hands-on work from the first lesson — every pupil (or pair) works on a real robot;
- electronics and programming together — the circuit is explained, not only the code blocks;
- a path forward — from blocks to text code, from a kit to your own design;
- projects and challenges — a line, a labyrinth, a SUMO ring: a real goal teaches faster than separate exercises;
- small groups and enough equipment — waiting for your turn is not learning;
- safe workshop habits — batteries, soldering, tools;
- teamwork and presenting your own robot;
- a real event at the end — a school competition or a championship gives the course a clear deadline.
After a good robotics training course you can build your next robot without the teacher.
Where to practise: school teams, clubs and competitions
Robots improve with deadlines. Some ways in:
- A school team — 2–5 pupils and a teacher or mentor. Our guide School robotics: how to start at school explains the line following, zigzag and labyrinth tasks.
- The school competition — in 2026 GRA's School Robotics Competition was held for grades 7–12 on a zigzag and in a labyrinth, free for schools.
- SUMO and Line Follower — autonomous robots for older pupils and students; under GRA's 2026 rules anyone from age 14 could enter, school teams too. Read our SUMO guide and about the 2026 championship.
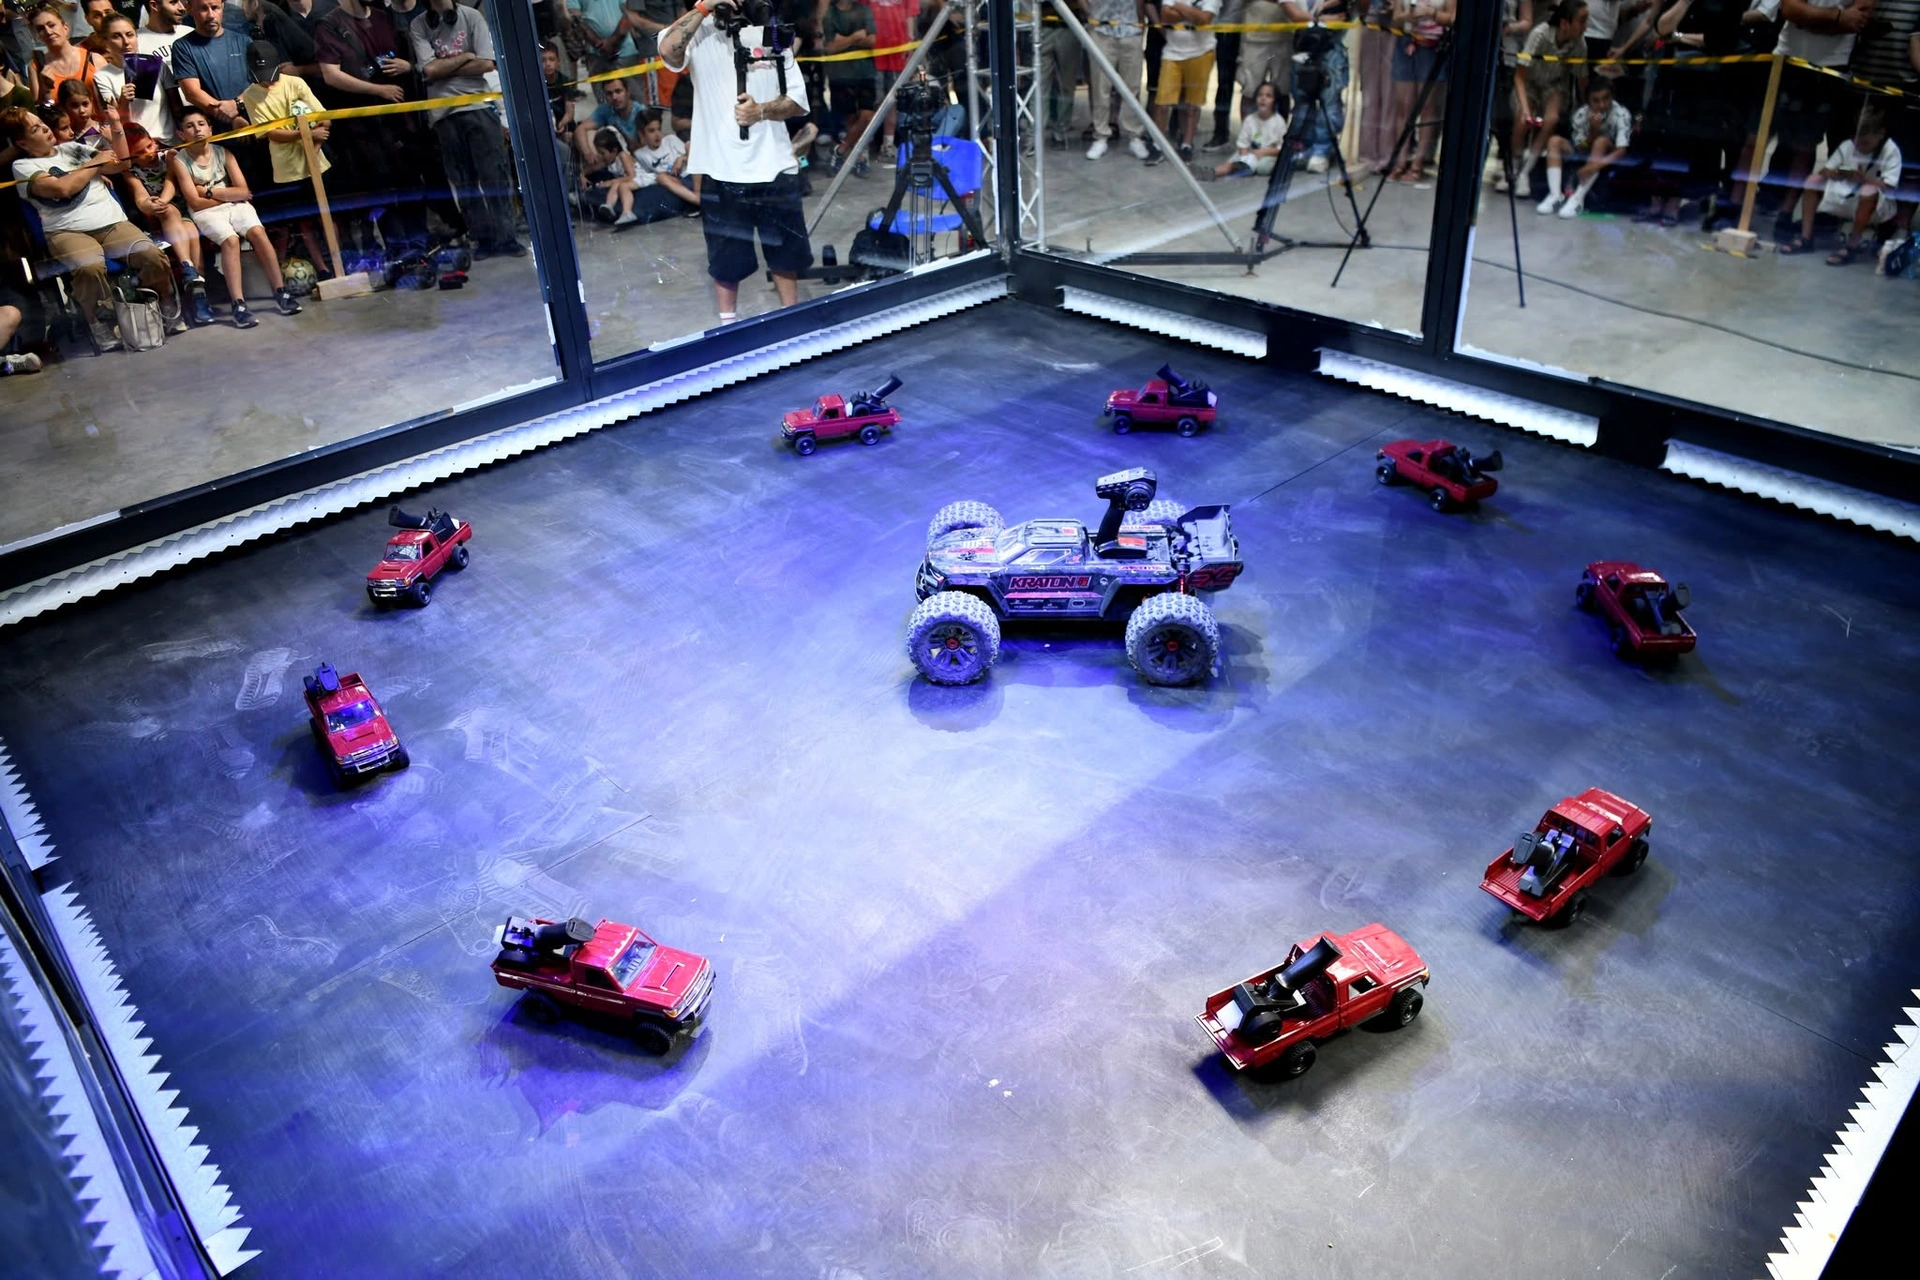
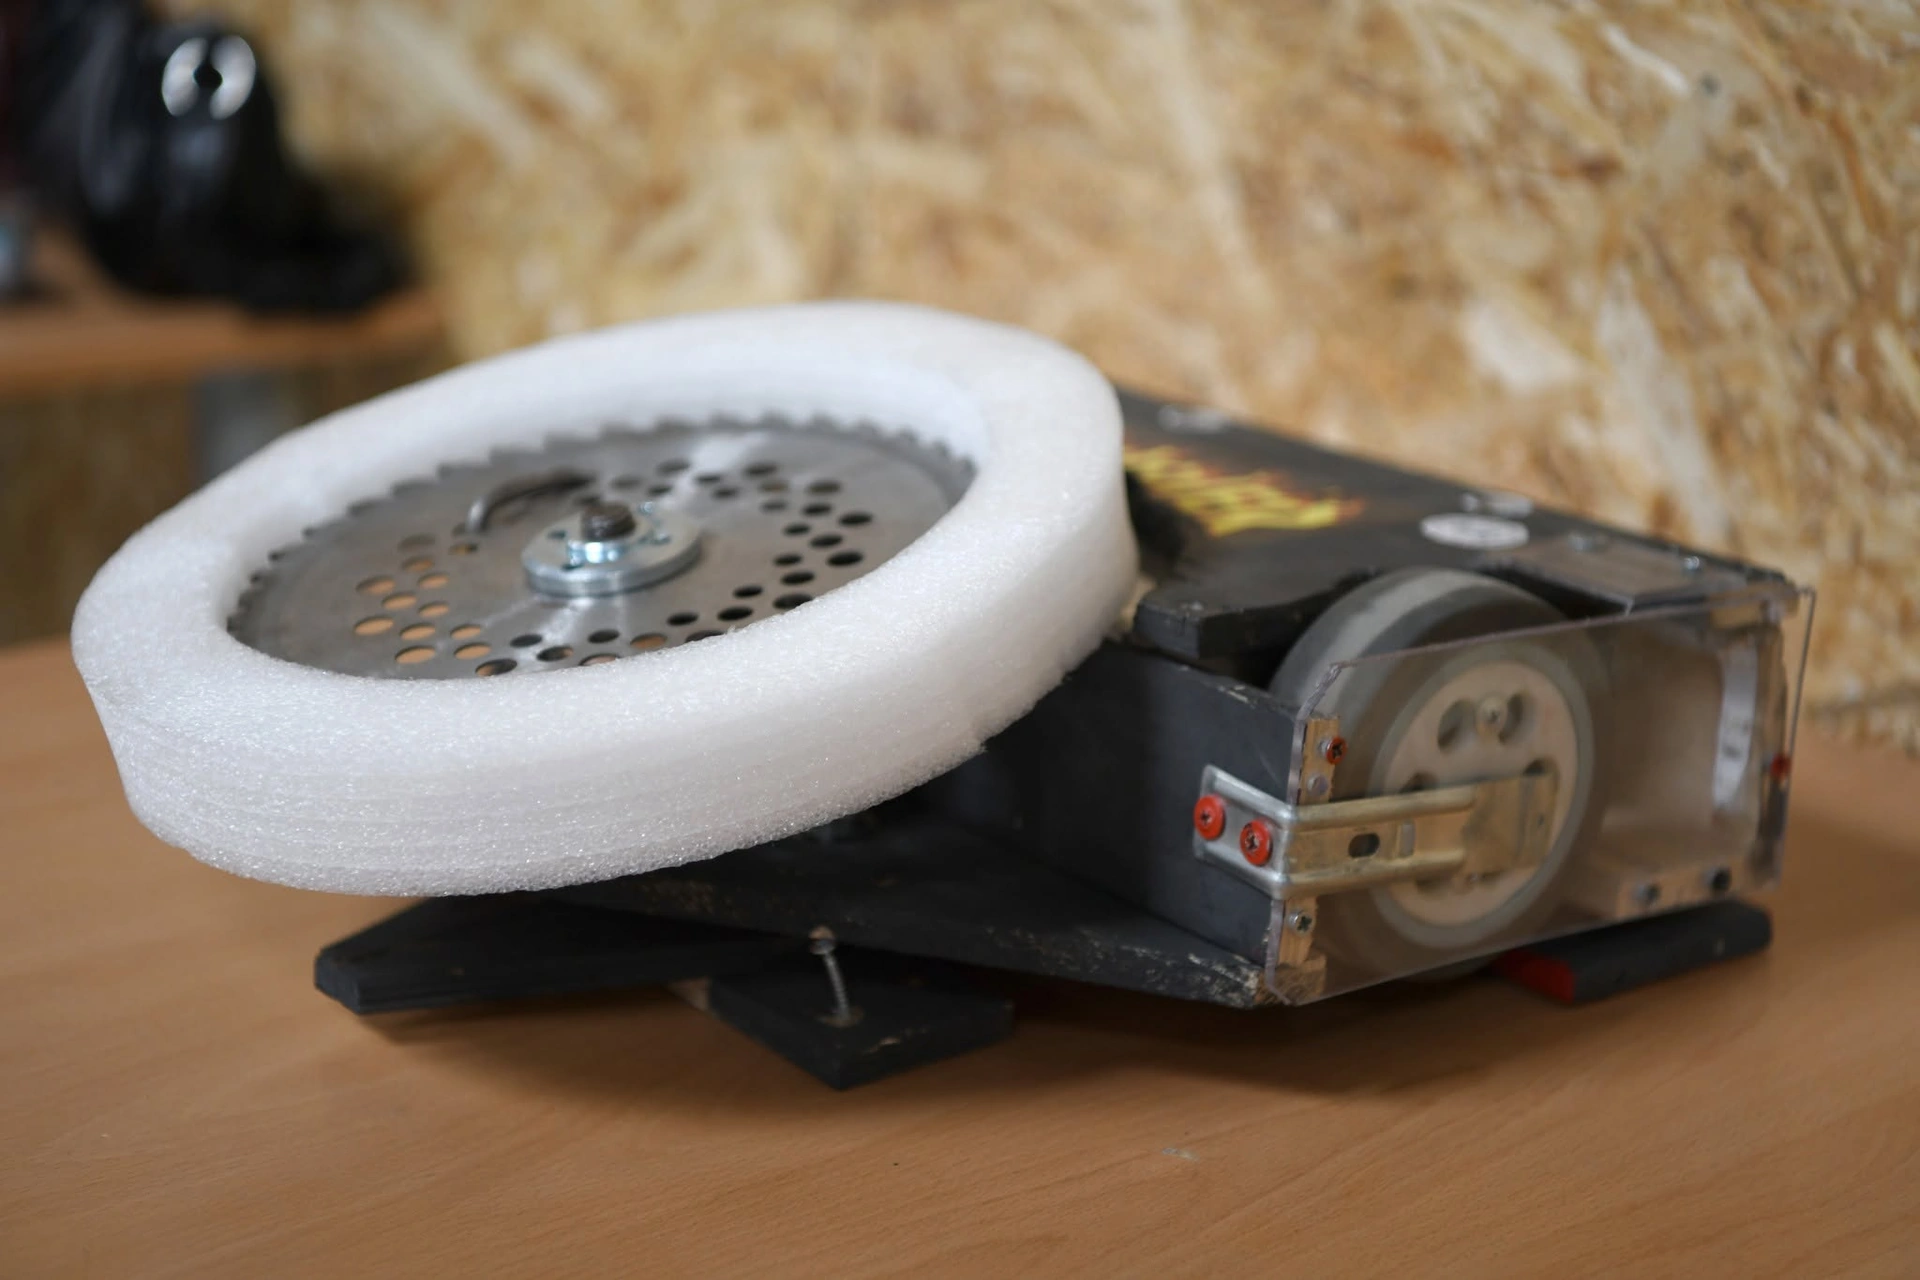
- Combat robots — remote-controlled machines for experienced teams: weight classes, teams and safety, and ROBO BATTLE 2026 on 21 November 2026 in Tbilisi, international for the first time.
- RC cars — the 2026 RC car racing championship.
At our events you meet teams and mentors, and the GRA network lists the schools and organisations we work with. Volunteering at a competition is the fastest way to see hundreds of robots up close.
What next: a plan for your first three months
- Build the two-wheel robot and make it drive a square.
- Teach it to follow a line and to stop before a wall.
- Join or start a team, and pick one event on the competitions page as your goal.
- Read the current rules early — each championship publishes them on its own page — and build to them.
More practical guides are on the way; you will find them all under the Guides tag.