En
En 
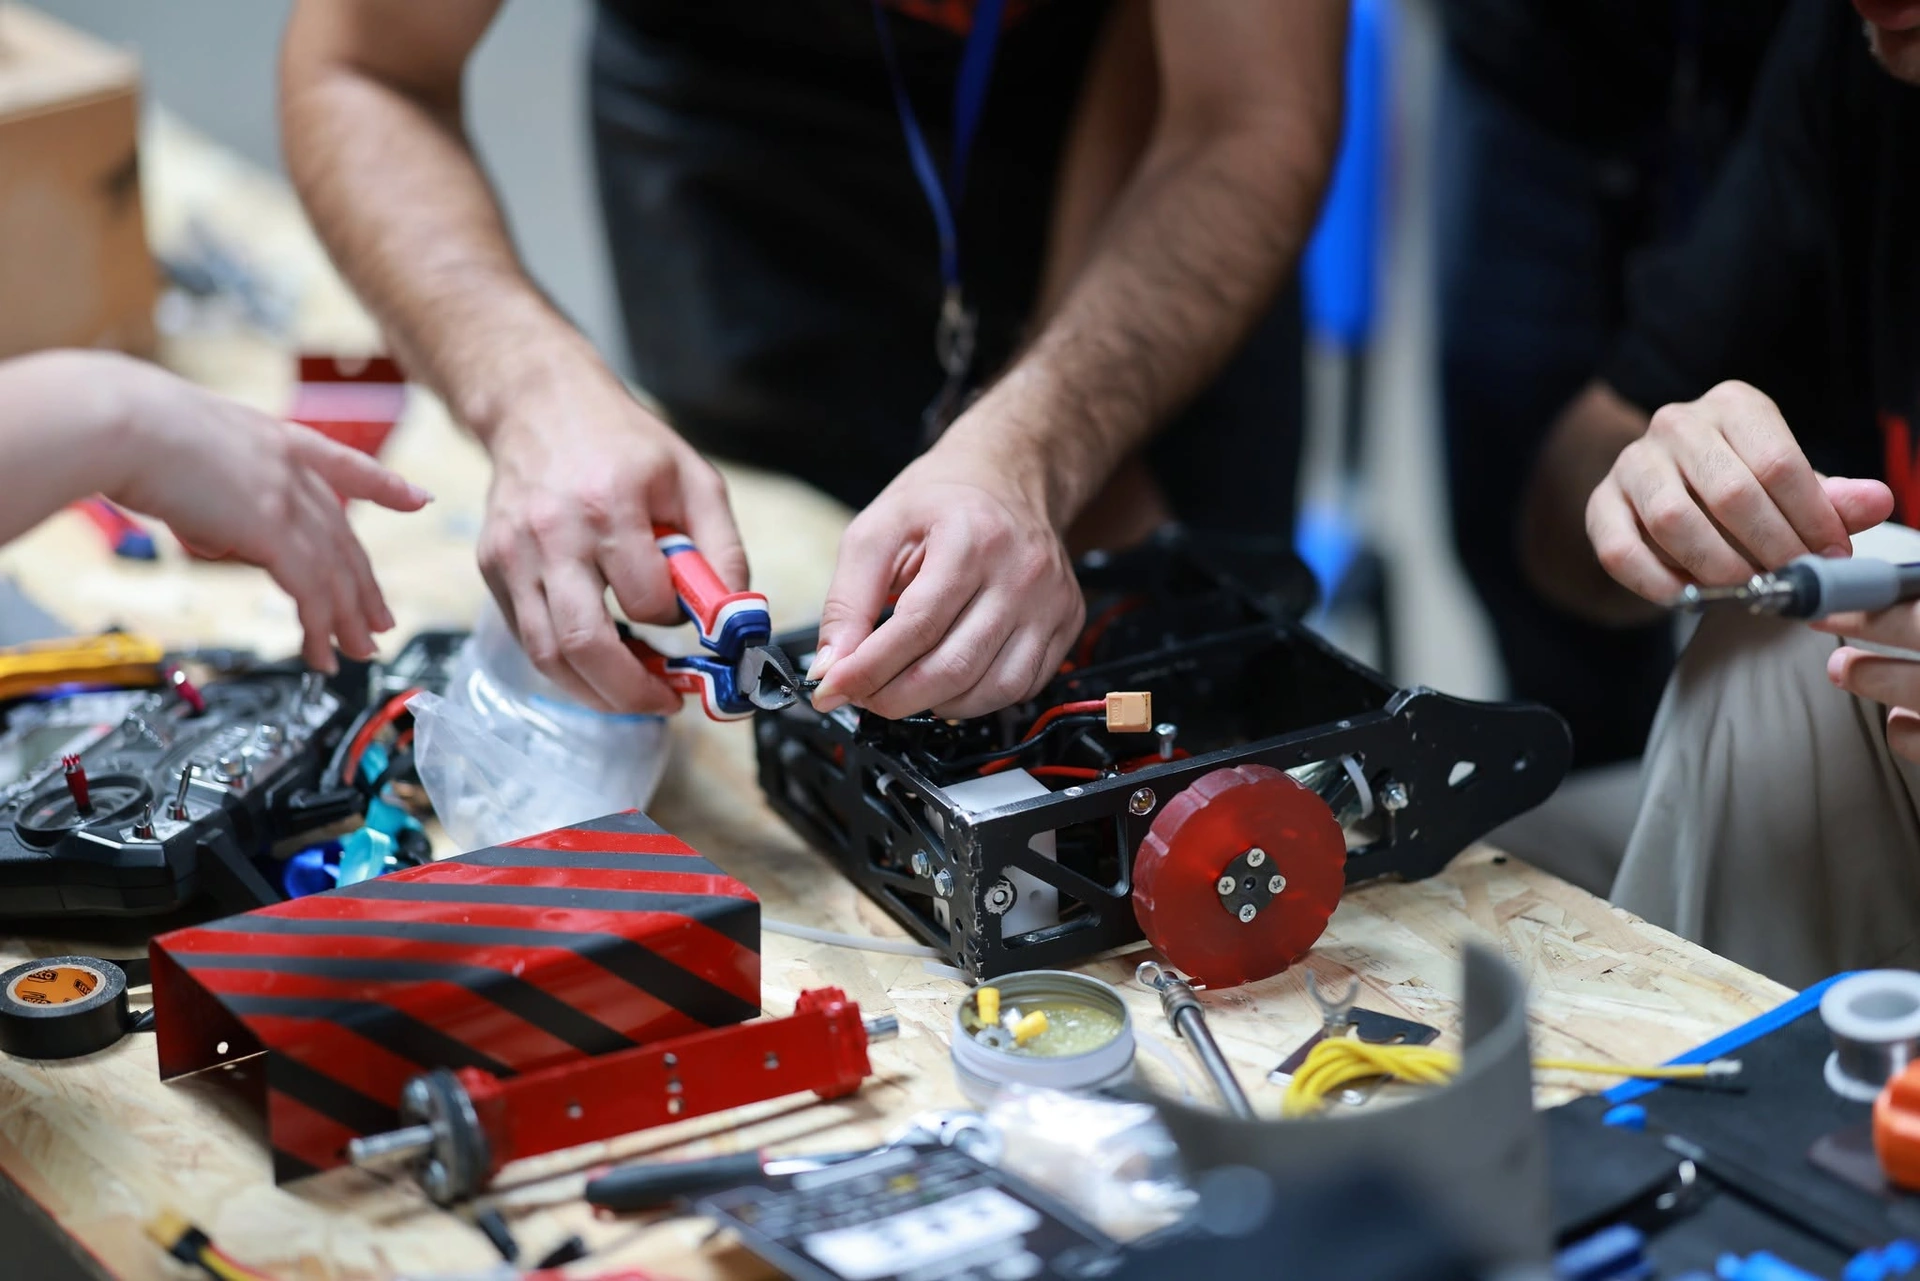
First steps in building a combat robot: class and concept
How do you build a combat robot from scratch? This guide answers step by step, for a first robot. It continues our article Designing a combat robot, which covers the robot types, materials and rules.
The class. The lightest class in ROBO BATTLE 2026's rules is Antweight (500 g), but in 2026 it is a pilot class that runs only if enough teams and ready robots sign up. So plan your first robot for Beetleweight — up to 1.5 kg: small motors and batteries, less energy in the weapon, and mistakes that are cheap to fix.
The team. Teams have 2–5 members aged 16 and over; a team with a minor needs at least one member aged 18+ and a parent's consent form.
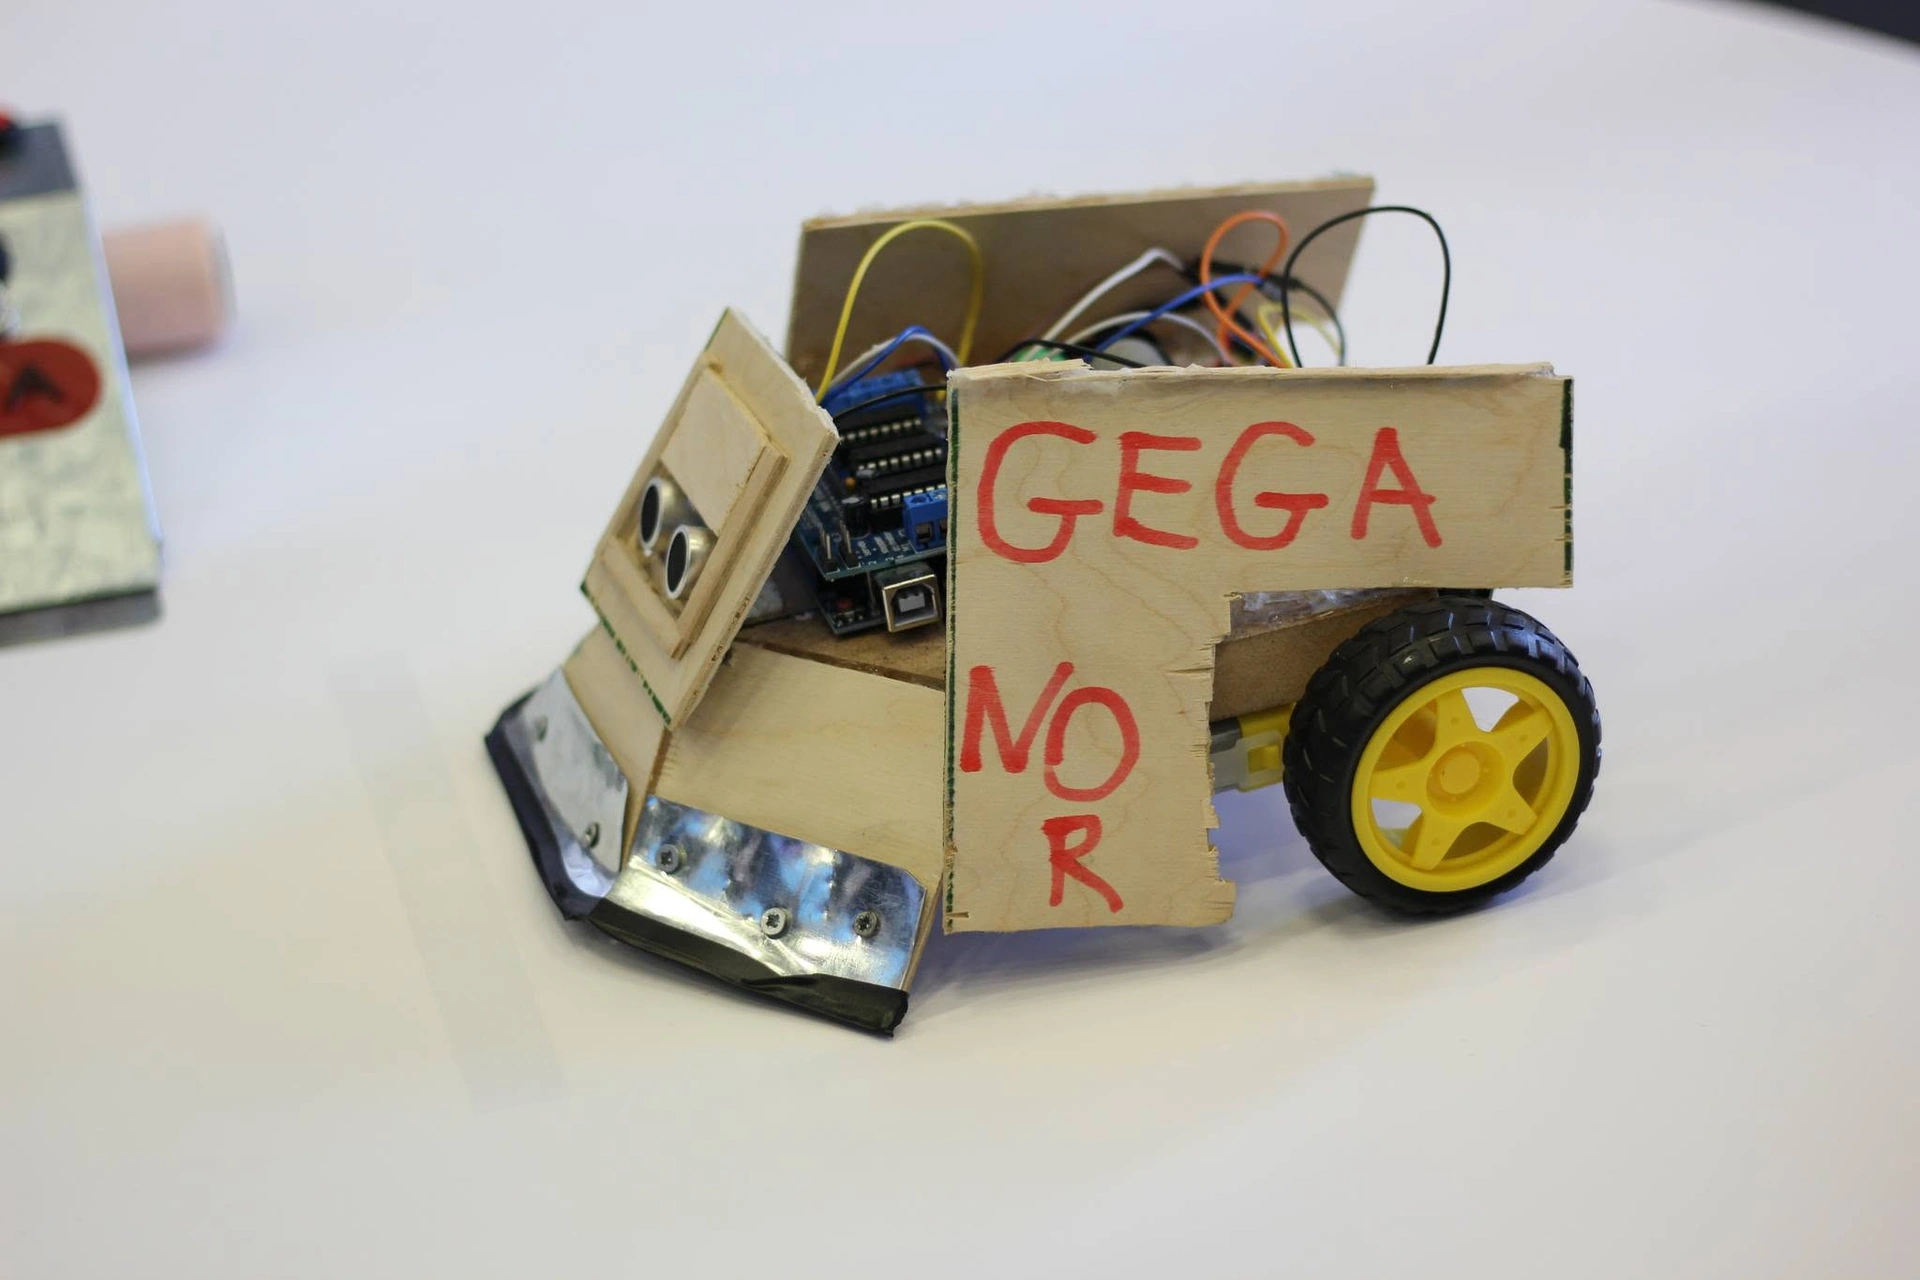
The concept. A good first robot: low, two-wheel drive, a wedge-shaped front and a simple active weapon — a motor-driven lifter, or a small drum if someone in the team has electronics experience. A wedge alone is not enough: the rules require an active weapon.
Robot motors and other parts, by function
Think in functions, not shop lists — each function needs a part type:
- Drive: two (or four) metal-geared brushed gear motors — roughly 25 mm class for a beetle — and 40–60 mm wheels with soft rubber or TPU tyres.
- Drive control: two brushed ESCs (electronic speed controllers) with forward and reverse, or one dual ESC with built-in mixing.
- Weapon: for a lifter, a strong gear motor or a metal-geared servo; for a drum, a brushless motor, a brushless ESC (with braking) and a belt.
- Power: a 3S LiPo battery (11.1 V nominal) sized for your motors, with keyed connectors such as XT30 / XT60. 3S is far below the rules' 60 V limit.
- Switching: a removable link or a robot switch for the main power, a second one for the weapon, and an indicator LED.
- Control: a 2.4 GHz transmitter with at least 4 channels and a receiver with failsafe.
- Frame: aluminium, polycarbonate or 3D-printed TPU/PETG, M3 bolts and threadlocker.
- Tools: soldering iron, multimeter, LiPo balance charger, fire-safe bag, hex keys.
The drive layout
The drive decides whether you can attack and escape. The diagram shows the main options:
- 2WD — two wheels near the middle and the wedge sliding at the front: light and simple, the usual first choice.
- 4WD — more grip and pushing power, but more weight and wiring.
- Wheels taller than the body — the robot keeps driving when flipped (invertible). The alternative is a weapon that can turn the robot back over (self-righting).
- Ground clearance — a few millimetres under the body, with the wedge edge almost touching the floor. The rules warn that the arena floor may not be perfectly flat and may have low or raised obstacles.
- Centre of mass close to the driven wheels: more grip, faster turns.
- Tank steering — left and right sides driven separately: both forward to go straight, opposite directions to turn on the spot. Set it up as mixing on the transmitter or in a dual ESC.
Mount the motors inside the frame, so a hit lands on the armour, not the gearbox. A top speed of 2–3 m/s is plenty in a small arena.
The wiring diagram
The diagram is a simple, rules-friendly layout for a one-battery robot (robots up to 5 kg may run everything from one battery):
- Battery (3S LiPo).
- Main switch or removable link — the kill switch: removing it cuts all power.
- Indicator LED (with a resistor) right after the main switch: it lights automatically when the robot is live.
- Drive ESCs, one per side.
- Drive motors.
- Weapon switch or link — the second main switch, cutting only the weapon.
- Weapon ESC.
- Weapon motor.
- Receiver — its signal cables go to every ESC; it takes 5 V from the built-in supply (BEC) of one ESC (disconnect the red wire on the others).
- Transmitter.
This meets the rules' two main switches — one cutting the drive, one cutting the weapon. Make them reachable from the top, away from the weapon; if they need a special tool, carry a spare one. Use silicone wire (thicker for the battery and weapon), solder and heat-shrink every joint, and route wires away from the weapon. Check your layout with the organisers at the technical review.
First power-up and tests
Test in this order, and keep people away from a live weapon:
- With the battery out, use a multimeter to check there is no short between plus and minus.
- First power-up with the robot on a stand (wheels in the air) and the weapon disconnected.
- Bind the receiver to the transmitter and set the failsafe; switch the transmitter off — the wheels must stop at once.
- Check motor directions, mixing and trims; put the weapon on its own switch with a throttle cut.
- Drive on the floor, then in a closed box with walls: forwards, backwards, turns, upside down.
- Run the weapon only inside a closed test box. Time the spin-down — the rules allow at most 60 seconds.
- Practise switching on and off: one person, 30 seconds each way; the robot must stay still when switched on.
- Weigh it: under 1.5 kg, with a small margin.
- Abuse it: drive into walls, drop it, then check every bolt and use threadlocker.
When soldering, work with ventilation, keep the iron in its stand, and never solder a circuit with the battery connected. Charge LiPo packs with a balance charger, in a fire-safe bag and never unattended; retire any swollen or damaged pack.
The safety check before an event
In ROBO BATTLE 2026's rules the final Tech Check, a week before battle day, covers weight, control, failsafe, the active weapon, the weapon lock and the power system. Prepare with the checklist in the diagram:
- Weapon lock — a pin or bolt through the weapon and the frame, painted red; the weapon stays locked during transport.
- Switches easy to reach, with a spare tool if they need one.
- Indicator lights come on with the main switch.
- Failsafe — transmitter off, everything stops.
- 30 seconds to power on and off.
- Weight under the class limit.
- Battery protected and secured; it comes out after every match and goes back in before the next.
- Covers on sharp edges, fixed with screws or straps, not just placed on top.
At the event robots are not carried by hand — they move on a trolley the organiser provides. Bring spare parts identical to the originals (shape, size, weight): only those may be swapped between fights, and they are shown at inspection.
What next
Team registration for ROBO BATTLE 2026 closed on 10 October, so aim a robot you start now at the next championship. Meanwhile, come to battle day: ROBO BATTLE 2026 takes place in Tbilisi in November, and the rules welcome spectators — see the championship page.
Read the design guide Designing a combat robot, our first overview Combat robots: weight classes, teams and safety and the story of ROBO BATTLE 2025. Practise motors and wiring on a smaller budget with a SUMO robot. Every combat robot article is on the topic page, upcoming events on the events page; to volunteer or partner, see get involved.